Back to My Roots: Cheap Old Houses

If you are an old-house aficionado, you may already know about the candy store of vintage American architecture that is CIRCA. and the constellation of old-house websites and Instagram pages that surround it, bursting with eyebrow Colonials, Victorian gingerbreads, American Foursquares, Italianate jewel boxes, historic churches and more.

These covetable buildings are all for sale. Elizabeth Finkelstein, who has a Masters from Brooklyn’s Pratt Institute in historic preservation and writes a column for Country Living magazine, along with her husband Ethan, a digital designmeister, founded the sites to share their love of old houses while indulging their obsession with searching listings far and wide. They are not real estate brokers; the user-friendly sites link to the official listings.

The Finkelsteins call their enterprise “a curated online marketplace.” From dire fixer- uppers for $1,000 to properties with National Historic Landmark status, from humble one-room cabins to a San Francisco Beaux Arts masterpiece for $10 million, it’s a rabbit hole you’ll enjoy falling into.

What intrigues me most, bottom feeder that I am, is the sister site Cheap Old Houses, which focuses on listings under $100,000. The catch? Maybe that they’re mostly in far-off (from NYC, at any rate) and possibly far-right places like Ames, Iowa, and Vicksburg, Mississippi. There are intrepid folks, documented in a 2019 story in New York magazine, who will buy an old house sight unseen for a pittance, then move across country to sleep on an air mattress in an unfamiliar place to renovate on a shoestring. That’s not me anymore. But as eye candy and fantasy fodder for an armchair renovator, these sites are pure delight.

Top to bottom: Lexington, MO, sold for $60,000; Towanda, IL, $150,000; Bristol, CT, $175,000; Bergton, VA, $70,000

You can check out CIRCA and CIRCA-adjacent websites and follow them on Instagram for free, or get three weekly newsletters for $12/ month, including a “secret” Instagram feed plus Cheap(ish) Old Houses, Cheap Old Farmhouses and Cheap Old Houses Abroad, which promise a total of 2,000 additional listings.

CIRCA has been around as a website since 2013, Cheap Old Houses as an Instagram feed since 2016 (now with 1.4 million folowers!) “We started @cheapoldhouses because we were enchanted with the untapped beauty that is hidden in so many pockets of this country,” reads Cheap Old Houses’ About page. “These homes tell the stories of the everyday people who lived here, worked here, and made America what it is… They are not the fancy landmarks—they are our true history.”

I commend them for doing their part to help save it.

Latest on Hamptons Reno: My Go-To Great Room

IMG_3684

IT ONLY TOOK FIVE YEARS to get there, but the great room at my place on the East End of Long Island is finally livable. The final phase of its transformation this spring: a bout of quickie decorating in the newly insulated and painted space.

This changes everything. The new, improved great room is warm when it’s raw elsewhere in the house, bright and inviting where it used to be dark and dreary. It’s now everyone’s go-to room, instead of what once felt like wasted space.

I worked like a demon for two weeks, putting things back to rights after a fall of construction and winter of abandonment, restoring the room’s furnishings and hanging art (i.e. framed posters). Local yard sales yielded a few things that weren’t strictly needed, but which I could not resist (pix below).

The new wood stove insert, which fit neatly into the existing fireplace, is what enables me to be here several weeks earlier than in the past. Prior to these recent improvements, the house was basically an unheated summer bungalow. Two-thirds of it is still an unheated summer bungalow, but the 400-square-foot great room, at least, now approximates the comfort of a real house.

Painted white floor to ceiling, it looks more like a Hamptons beach house than a cabin in the Adirondacks. I sent new photos to a couple of local real estate agents and asked them to list the house for rent from July 1 through Labor Day. Next thing I knew, the house was taken for the season by the first person who looked at it.

That was gratifying, and freed up space in my brain that had been taken up with worry about finding a summer tenant.

IMG_3617IMG_3705IMG_3669IMG_3608IMG_3672IMG_3597IMG_3602IMG_3621IMG_3851

Fabulous Mother’s Day present from my son: a new black Corian countertop for the kitchen, above. Major upgrade on previous chipped white Formica.

IMG_3933

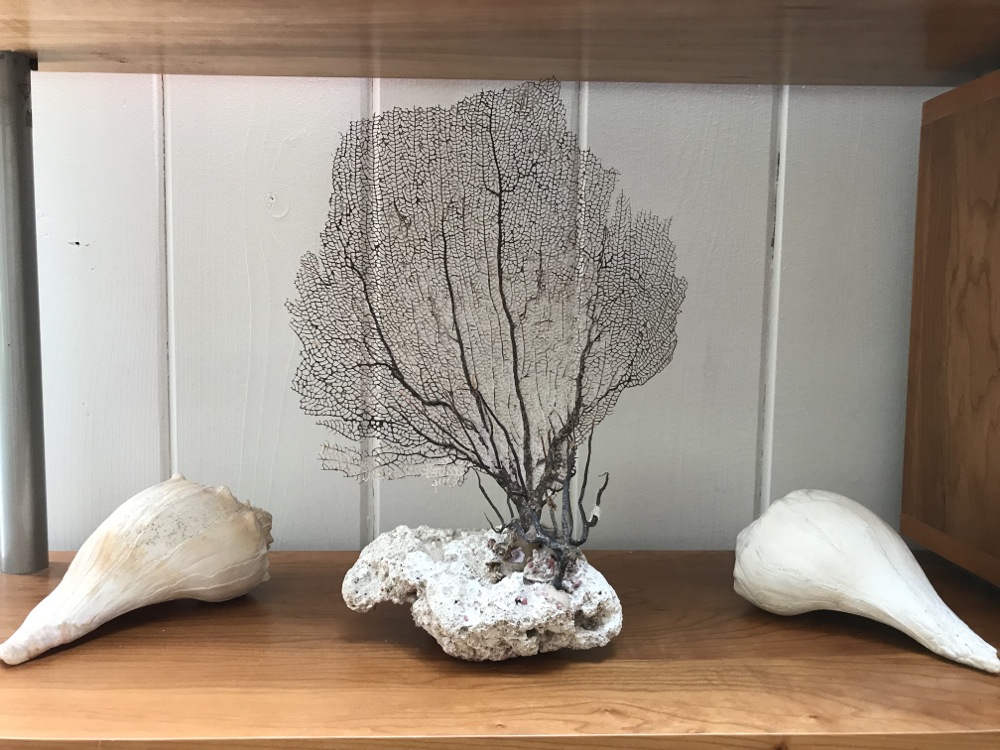
A new addition to my coral collection. Can’t buy real coral anymore, so I’ve been buying vintage coral at yard sales, along with flowerpots, rugs, wire items, mobiles…

IMG_3935IMG_3944

Art-directed yard sales are not rare in East Hampton.

IMG_3770

How cute is this? Yes, another yard sale find.

The Great Room Becomes a Greater Room

IMG_0024

IT’S GETTING ON FOR SPRING, and I’ve got a decorating project to look forward to. Naturally, this makes me very happy. It’s been a while since I had an opportunity to indulge this passion of mine, since I’m a designer with no clients — only myself.

The room in need of decorating is the 400-square-foot great room at my rustic-modern retreat on the East End of Long Island. You remember my great room, don’t you? Here’s what it looked like last summer, when the interior walls were the same plank of wood as the exterior walls, and the room was (to my mind — some people liked it) dark and oppressive:

FlaggyHoleRd_46_EH_WEB_5148.jpgFlaggyHoleRd_46_EH_WEB_5144.jpgFlaggyHoleRd_46_EH_WEB_5141.jpg

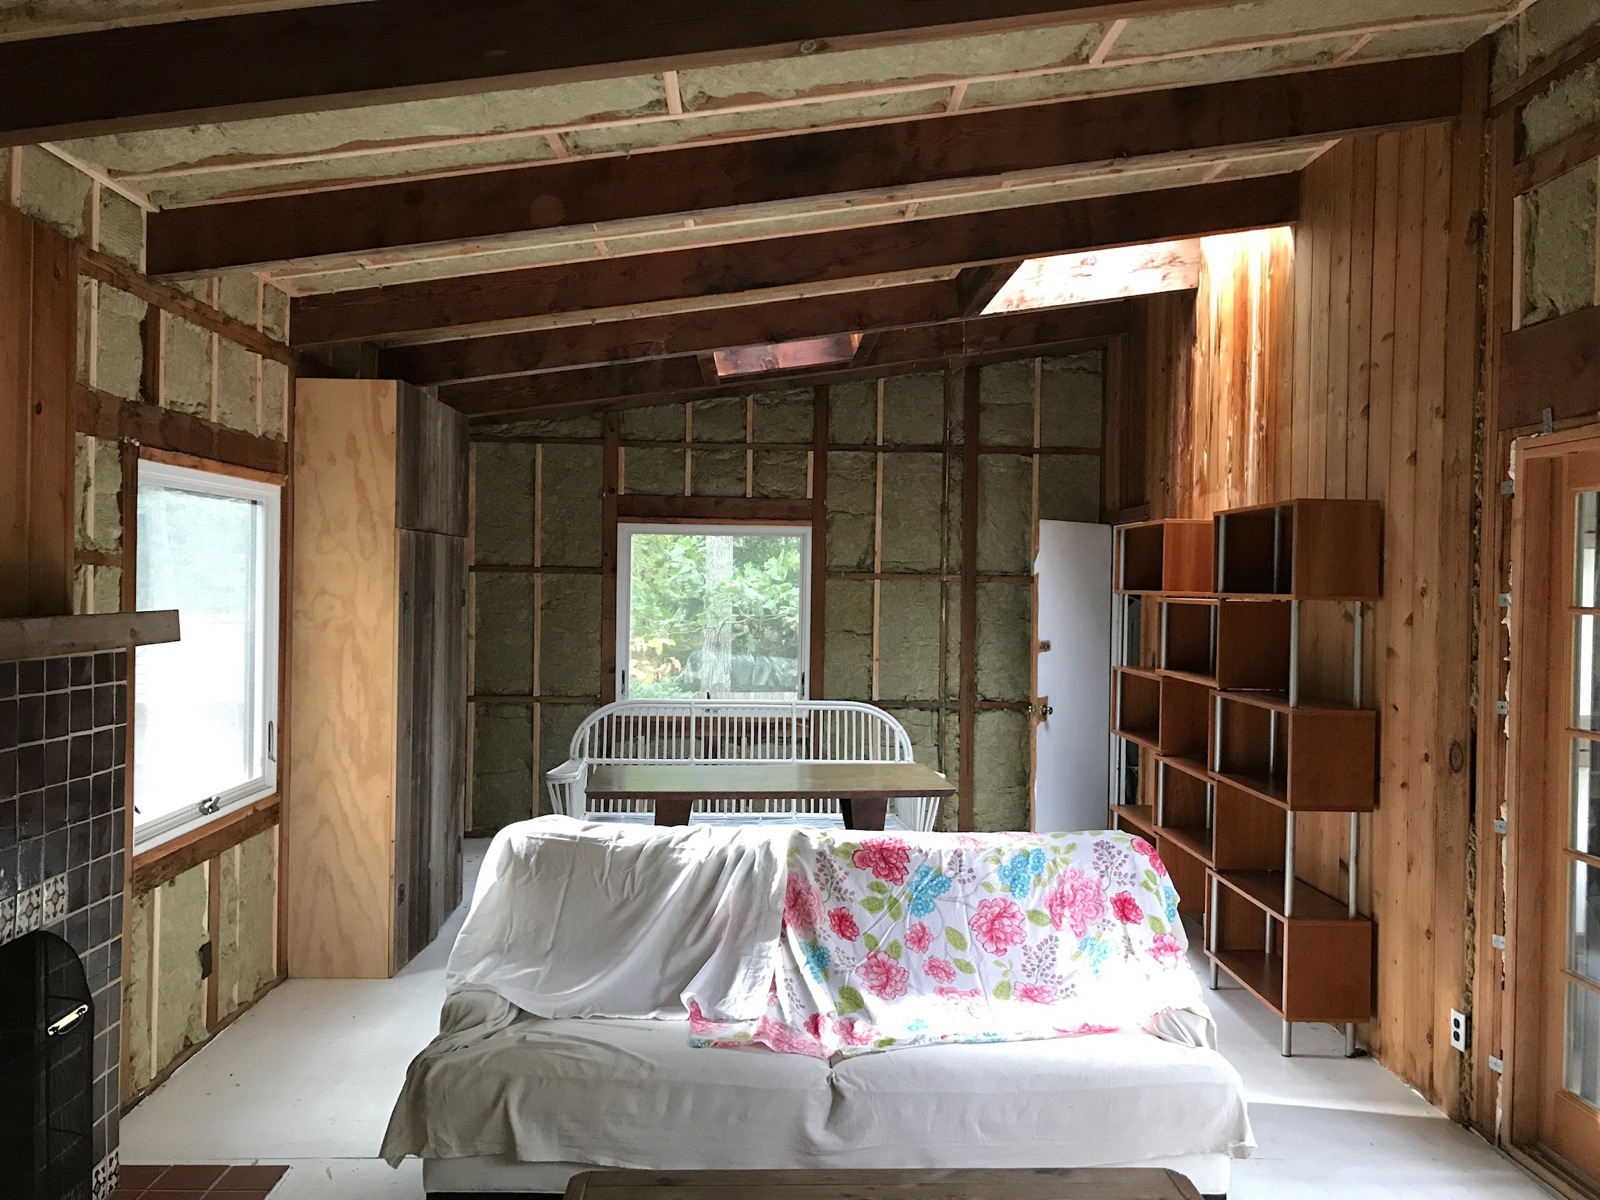
Last fall, over a period of about six weeks, I had the ceiling and walls of this room insulated, Sheetrocked and painted, and a wood stove installed, making it the only winterized space in what is essentially still an unheated summer bungalow.

The floor is still one sheet of plywood over a crawl space, and the new wood stove insert, which fit right into the opening in the existing mantelpiece — though I expect it to work well once I get the hang of it — hasn’t yet been properly fired up.

But my hope is to now be able to use the house a month longer on either side of my usual May-October season — from mid-April, when the water gets turned on, through November, when it’s turned off.  I’ll have at least one toasty room in which to hole up during those still-chilly shoulder-season months.

Basically, I’ll be moving the same furniture that was in there before back in. But I’ll have fun playing around a little with rugs and art and lamps and such.

What I’m happiest about, even more so than the already-warmer, already quieter space that’s been created, is that it’s classic, sparkling beach-house white instead of its former dreary brown. And I’m pleased that I was finally able to get at least this much done, after owning the house nearly five years.

Scroll down for the transformation. Stay tuned for the furnishing.

IMG_0002IMG_0003IMG_0004

First the walls and ceiling had to be framed out with 2x4s at 16-inch intervals to hold the batts of insulation in place.

IMG_0005IMG_0006IMG_0007IMG_0008

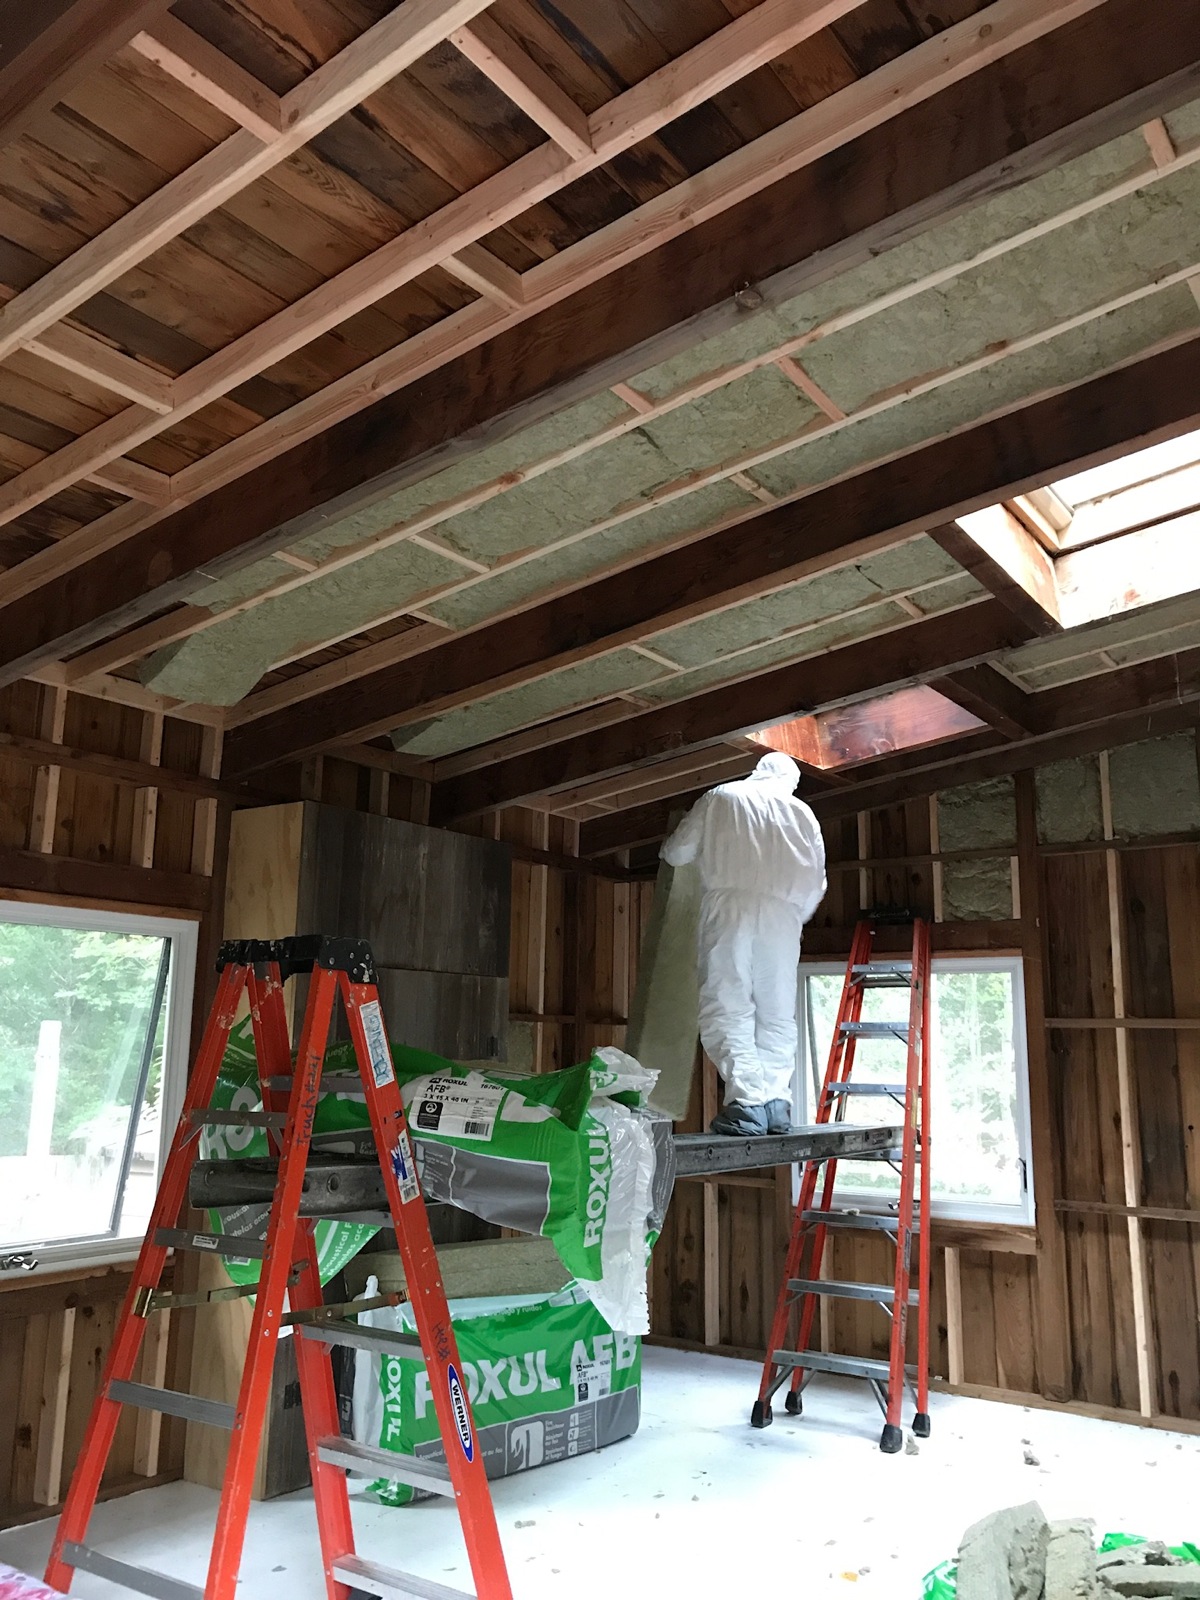
I used Roxul brand mineral wool insulation, supposed to be non-toxic and much more environmentally friendly than the pink fiberglass stuff (so don’t ask me why the workmen are wearing hazmat suits).

IMG_0011IMG_0012

Next the Sheetrock went up between the ceiling beams, which were deep enough that I didn’t mind losing a few inches of them to the insulation.

IMG_0013IMG_0014IMG_0015

The Hearthstone wood stove insert was delivered and installed in early November. It’s a self-contained unit, lined with soapstone, and with an integrated chimney liner (so I didn’t have to worry about re-building the chimney, which was cracked and not tall enough and didn’t have a good draft).

IMG_0016IMG_0018

Over the fireplace and on one long section of the wall opposite, there was cedar paneling I liked. I left it for a bit of texture (enough with the Sheetrock) and had it painted white.

IMG_0019IMG_0022IMG_0023

I might have left the ceiling beams unpainted, were it not for heavy stains from long-ago water damage. The easiest thing was to paint them white, too.

The plywood floor got a coat of gray floor paint as a temporary measure. Step by step and bit by bit…

P.S. The house is once again available for rent for the months of July and August (one month minimum). Read all about it, with more photos, here

Quickie Renovation in Philadelphia

IMG_0013

ONE OF THE BEST PIECES of self-help advice I ever read in a magazine was: “Savor your accomplishments.” Ridiculous that I had to read it in a magazine, but I did, and I took it to heart.

Here we are in deepest winter, and I’m savoring. There aren’t any laurels handy, so I’m resting on my couch in Brooklyn, pleased that I managed to sneak in a second Philadelphia apartment renovation in 2017. It’s in the same three-unit Queen Village building where I created a duplex at the top of the house, combining unused attic space with the one-bedroom apartment beneath it, early last year.

That first reno, which began in late ’16 and took six months, was long-planned. In fact, I’d wanted to do it since I bought the building in 2005.

This second reno, begun in September, finished in November and rented in December, was completely unplanned. But it became necessary after the hot water heater in the second-floor unit burst one midsummer’s night. It completely ruined the floors of that apartment — no great loss, as they were cheap carpet over plywood, but it also pointed up the need to re-do the whole place, which was super-shabby and not at all chic, and hadn’t been touched since the 1980s.

The flood also messed up the ceiling of the unit below, on the ground floor. The repair of that was covered by insurance, but the stress of the whole thing, for both tenants affected and also for me, was one of those times when being a landlord seems pretty dreadful.

However, it ended well. The downstairs tenant was a trooper and put up with the weeks-long repair work and painting in her bedroom and bath. The tenant on the second floor, who had been there for about ten years, found a new place quickly. And the results were worth it.

I used the same contractor and many of the same sources and materials as for the previous reno. There was one big design move: removing the wall between the former kitchen and the living room, which had made the living room feel very narrow.

The apartment has a new kitchen, new bath, new pine floors, new baseboards, new window sills, a thorough paint job, and a happy occupant.

IMG_0001IMG_0002

The floors are Lumber Liquidators’ cheapest. Yellow pine, $2 and change per square foot. Almost all their flooring is manufactured and pre-finished. This is what I wanted: actual wood.

IMG_0012

The kitchen is just appliances, really, with a Home Depot sink base unit painted black . A stainless steel work table from a restaurant supply store (seen in photo at top) provides extra counter space. 

For upper storage, I used a vintage wood/glass-door cabinet from Beaty American, a terrific architectural salvage store in Kensington. 

IMG_0009IMG_0007

The bedroom has a closet with a washer dryer and a walk-in closet on the opposite wall.

IMG_0015

The new pedestal sink is from Lowe’s and the floor is black commercial-grade vinyl. 

Below, a couple of ‘Befores’ for context:

IMG_1279IMG_1285

Done! Philadelphia Attic Duplex Reno

651F5E74-4D51-41B6-94F0-409D20070FA8

IN CASE ANYONE HAS BEEN WONDERING, the Philadelphia renovation in a c.1810 row house that commanded much of my attention and most of my resources last winter was finally finished in May. I’m very pleased with how it turned out. In fact, the result was so satisfying I’m starting a new renovation in the same three-unit building next month, in the second-floor apartment below.

Joke! I am starting a new reno in the same building next month, but not because the first one was satisfying. It’s because there was a watery disaster in that second-floor apartment about a month ago: a burst hot water heater that let loose all 40 gallons of its contents, ruining the carpeted floor and finding its way through to the ceiling of the apartment on the ground floor below, causing extensive damage there as well.

The ceiling damage downstairs has been repaired, but I’ve asked the tenant in the second-floor apartment to vacate in late August. It’s the last un-renovated apartment of the three, and was sorely in need of upgrading anyway. I’m excited about the opportunity to fix a major design flaw in that space (there’s no proper living room to speak of).

But before we get to that in months to come, I want to share, for the record, photos of the completed duplex, which combined an existing one-bedroom apartment on the building’s third floor with previously unused attic space, to create a bi-level apartment with two bedrooms and an additional open loft.

At the center of it all is a new handcrafted staircase, which I consider very successful in both design and execution.

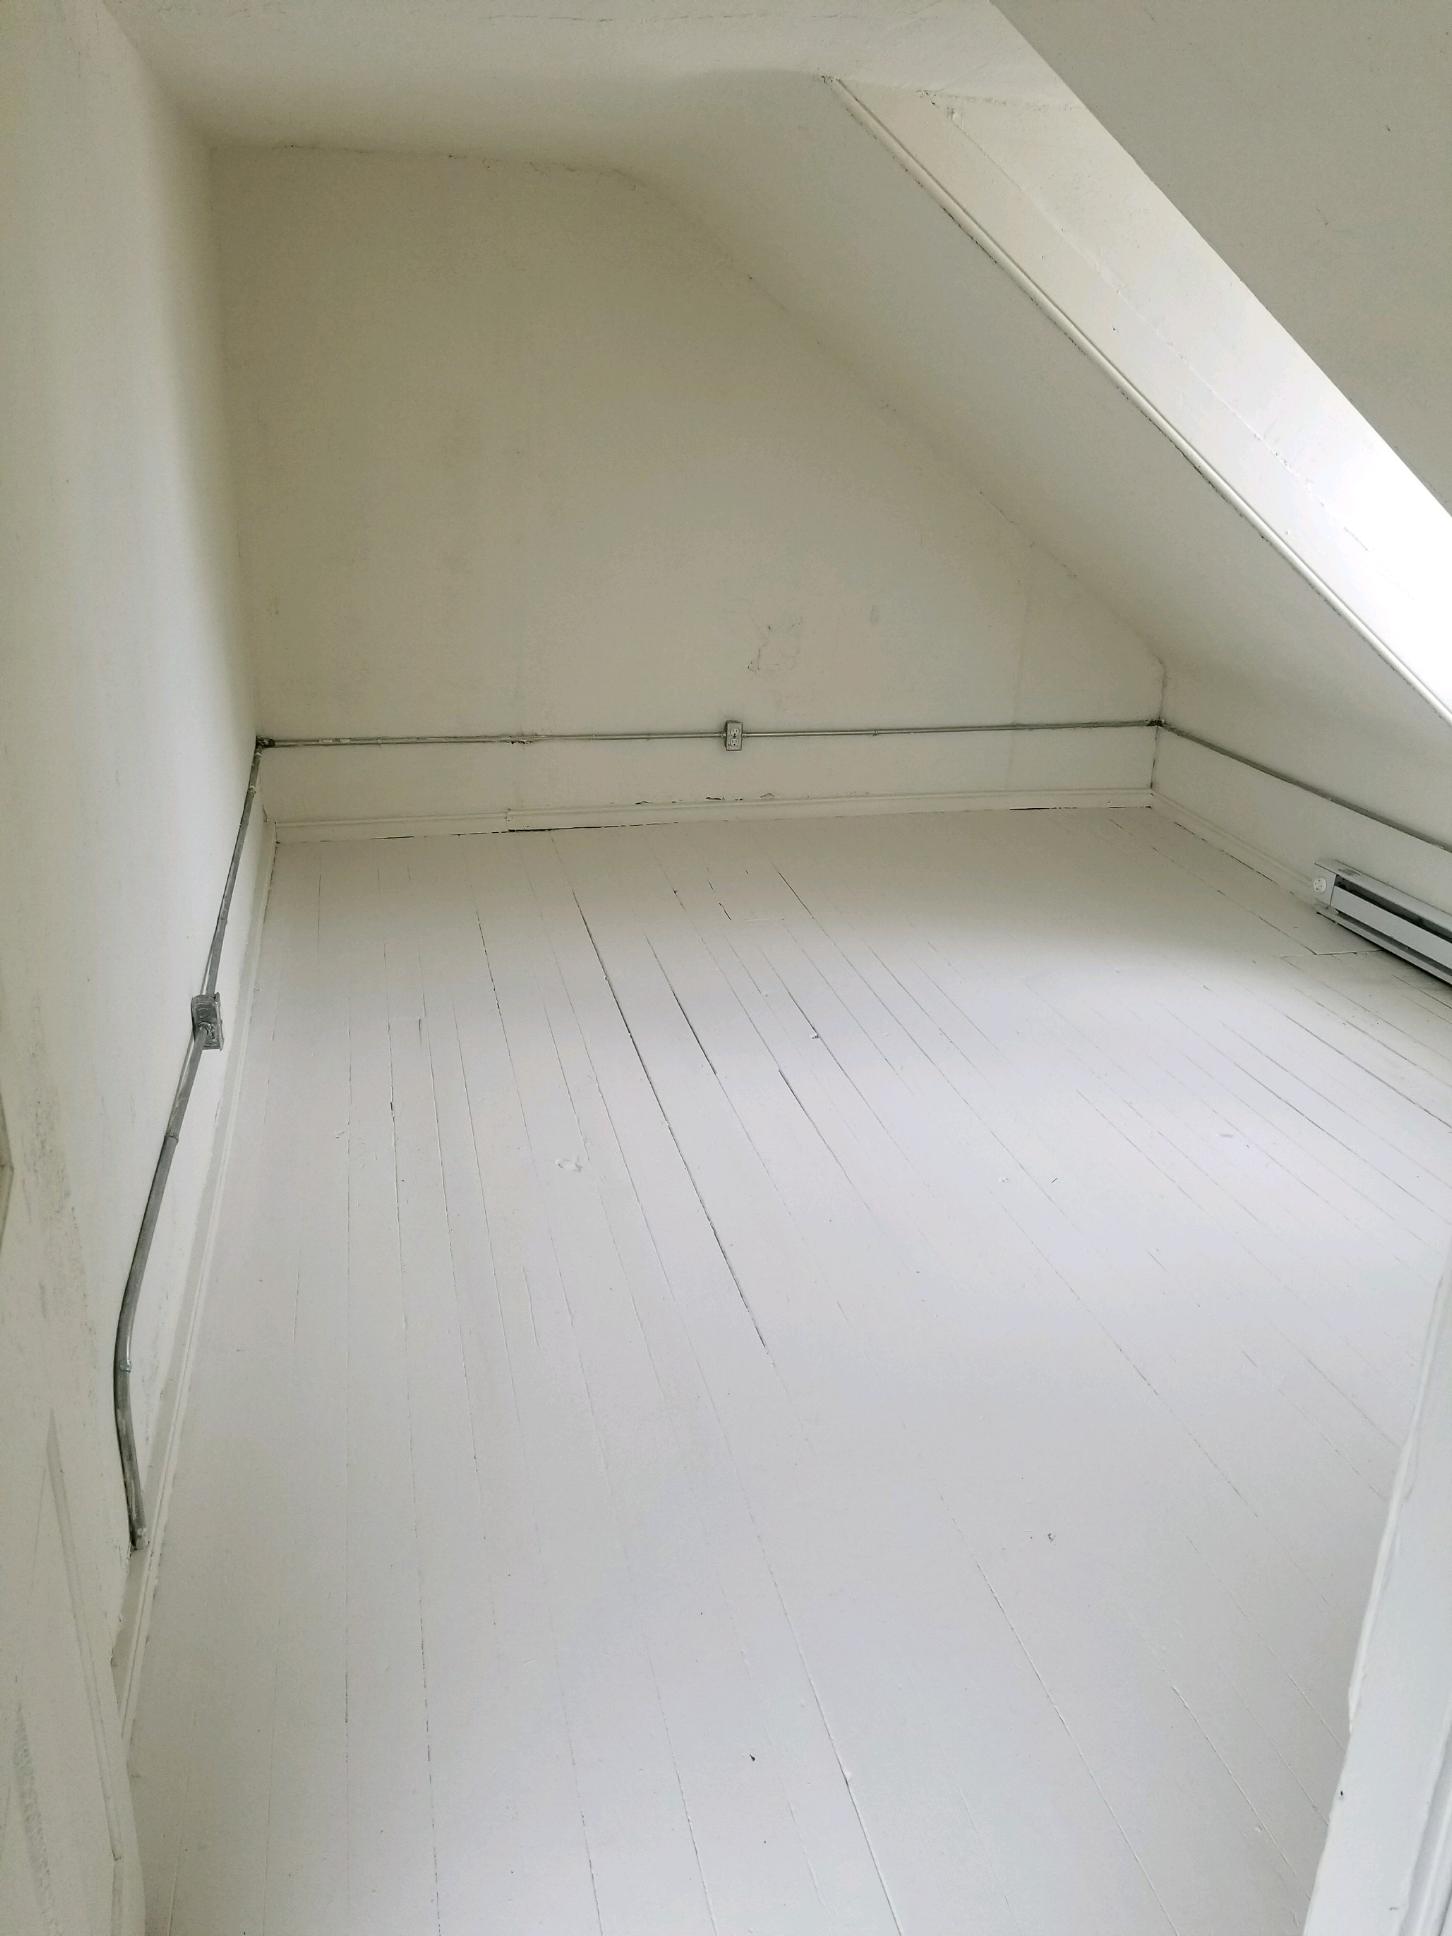
The pine floors are new; the bathroom is brand new; the kitchen cabinets received a cosmetic upgrade. There was no electricity on the upper level; now there is. The original wood floors upstairs were painted white.

Downstairs, the door to the bedroom was moved to allow a longer sight line through the apartment. Add to that new windows, new moldings, bumped-up electrical service, new HVAC units and a paint job. All in all, a major accomplishment <blowing on fingernails and buffing them against shoulder>.

Most telling of all: the apartment rented very quickly, to the first people who looked at it.

E9AC47C5-22AA-4CF2-A13B-29947F69528CB97A6376-AD68-4FAA-99A9-B8B0A272F9E767116CE7-BF2D-40E9-B98D-EE1728C03230E8B8440F-0099-4DB4-B1AD-09FDC58847108548AF06-C75E-4E4F-9491-1801B4E077D1C4CEB913-CB64-41D7-AA02-E612EC1F70DF3D3DB5F7-6118-4720-A602-1438E137239D41117F12-7410-4383-9404-E50954F69AEBAB9D252E-7E7D-4F3B-9F6C-1A2B74A3C80B212C0FBA-1342-4298-9AB1-26D5372D36C5BA452ACA-141D-48D6-97E6-B482ABF148D9